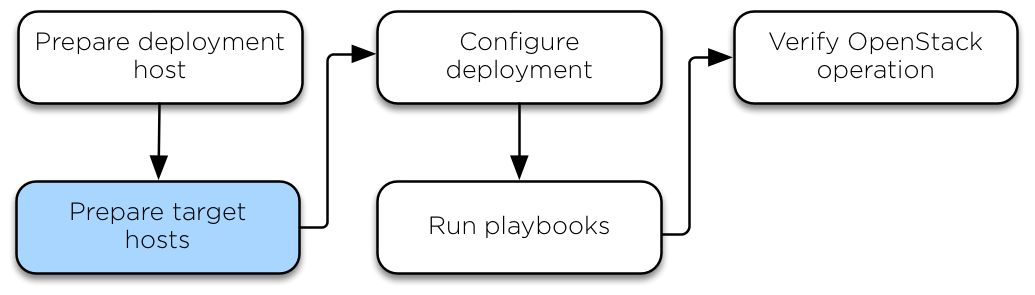
Prepare the target hosts
Configuring the operating system
This section describes the installation and configuration of operating systems for the target hosts, as well as deploying SSH keys and configuring storage.
Installing the operating system
Install one of the following supported operating systems on the target host:
Ubuntu server 18.04 (Bionic Beaver) LTS 64-bit
Ubuntu server 20.04 (Focal Fossa) LTS 64-bit
Debian 10 64-bit
Centos 8 64-bit
Configure at least one network interface to access the Internet or suitable local repositories.
We recommend adding the Secure Shell (SSH) server packages to the installation on target hosts that do not have local (console) access.
Note
We also recommend setting your locale to en_US.UTF-8. Other locales might work, but they are not tested or supported.
Configure Debian
Update package source lists
# apt updateUpgrade the system packages and kernel:
# apt dist-upgradeInstall additional software packages:
# apt install bridge-utils debootstrap ifenslave ifenslave-2.6 \
  lsof lvm2 openssh-server sudo tcpdump vlan python3
Reboot the host to activate the changes and use the new kernel.
Configure Ubuntu
Update package source lists
# apt updateUpgrade the system packages and kernel:
# apt dist-upgradeInstall additional software packages:
# apt install bridge-utils debootstrap openssh-server \
  tcpdump vlan python3
Install the kernel extra package if you have one for your kernel version
# apt install linux-modules-extra-$(uname -r)
Reboot the host to activate the changes and use the new kernel.
Configure CentOS
Upgrade the system packages and kernel:
# dnf upgradeDisable SELinux. Edit
/etc/sysconfig/selinux, make sure thatSELINUX=enforcingis changed toSELINUX=disabled.Note
SELinux enabled is not currently supported in OpenStack-Ansible for CentOS/RHEL due to a lack of maintainers for the feature.
Install additional software packages:
# dnf install iputils lsof openssh-server\
  sudo tcpdump python3
(Optional) Reduce the kernel log level by changing the printk value in your sysctls:
# echo "kernel.printk='4 1 7 4'" >> /etc/sysctl.conf
Reboot the host to activate the changes and use the new kernel.
Configure SSH keys
Ansible uses SSH to connect the deployment host and target hosts.
Copy the contents of the public key file on the deployment host to the
/root/.ssh/authorized_keysfile on each target host.Test public key authentication from the deployment host to each target host by using SSH to connect to the target host from the deployment host. If you can connect and get the shell without authenticating, it is working. SSH provides a shell without asking for a password.
For more information about how to generate an SSH key pair, as well as best practices, see GitHub’s documentation about generating SSH keys.
Important
OpenStack-Ansible deployments require the presence of a
/root/.ssh/id_rsa.pub file on the deployment host.
The contents of this file is inserted into an
authorized_keys file for the containers, which is a
necessary step for the Ansible playbooks. You can
override this behavior by setting the
lxc_container_ssh_key variable to the public key for
the container.
Configuring the storage
Logical Volume Manager (LVM) enables a single device to be split into multiple logical volumes that appear as a physical storage device to the operating system. The Block Storage (cinder) service, and LXC containers that optionally run the OpenStack infrastructure, can optionally use LVM for their data storage.
Note
OpenStack-Ansible automatically configures LVM on the nodes, and overrides any existing LVM configuration. If you had a customized LVM configuration, edit the generated configuration file as needed.
To use the optional Block Storage (cinder) service, create an LVM volume group named
cinder-volumeson the storage host. Specify a metadata size of 2048 when creating the physical volume. For example:# pvcreate --metadatasize 2048 physical_volume_device_path # vgcreate cinder-volumes physical_volume_device_path
Optionally, create an LVM volume group named
lxcfor container file systems and setlxc_container_backing_store: lvmin user_variables.yml if you want to use LXC with LVM. If thelxcvolume group does not exist, containers are automatically installed on the file system under/var/lib/lxcby default.
Configuring the network
OpenStack-Ansible uses bridges to connect physical and logical network interfaces on the host to virtual network interfaces within containers. Target hosts need to be configured with the following network bridges:
Bridge name |
Best configured on |
With a static IP |
|---|---|---|
br-mgmt |
On every node |
Always |
br-storage |
On every storage node |
When component is deployed on metal |
On every compute node |
Always |
|
br-vxlan |
On every network node |
When component is deployed on metal |
On every compute node |
Always |
|
br-vlan |
On every network node |
Never |
On every compute node |
Never |
For a detailed reference of how the host and container networking is implemented, refer to OpenStack-Ansible Reference Architecture, section Container Networking.
For use case examples, refer to User Guides.
Host network bridges information
LXC internal:
lxcbr0The
lxcbr0bridge is required for LXC, but OpenStack-Ansible configures it automatically. It provides external (typically Internet) connectivity to containers with dnsmasq (DHCP/DNS) + NAT.This bridge does not directly attach to any physical or logical interfaces on the host because iptables handles connectivity. It attaches to
eth0in each container.The container network that the bridge attaches to is configurable in the
openstack_user_config.ymlfile in theprovider_networksdictionary.Container management:
br-mgmtThe
br-mgmtbridge provides management of and communication between the infrastructure and OpenStack services.The bridge attaches to a physical or logical interface, typically a
bond0VLAN subinterface. It also attaches toeth1in each container.The container network interface that the bridge attaches to is configurable in the
openstack_user_config.ymlfile.Storage:
br-storageThe
br-storagebridge provides segregated access to Block Storage devices between OpenStack services and Block Storage devices.The bridge attaches to a physical or logical interface, typically a
bond0VLAN subinterface. It also attaches toeth2in each associated container.The container network interface that the bridge attaches to is configurable in the
openstack_user_config.ymlfile.OpenStack Networking tunnel:
br-vxlanThe
br-vxlaninterface is required if the environment is configured to allow projects to create virtual networks using VXLAN. It provides the interface for encapsulated virtual (VXLAN) tunnel network traffic.Note that
br-vxlanis not required to be a bridge at all, a physical interface or a bond VLAN subinterface can be used directly and will be more efficient. The namebr-vxlanis maintained here for consistency in the documentation and example configurations.The container network interface it attaches to is configurable in the
openstack_user_config.ymlfile.OpenStack Networking provider:
br-vlanThe
br-vlanbridge is provides infrastructure for VLAN tagged or flat (no VLAN tag) networks.The bridge attaches to a physical or logical interface, typically
bond1. It is not assigned an IP address because it handles only layer 2 connectivity.The container network interface that the bridge attaches to is configurable in the
openstack_user_config.ymlfile.
