[ English | 中文 (简体, 中国) | 한국어 (대한민국) | español (México) | English (United Kingdom) | Deutsch | Indonesia ]
Testing Changes with DevStack
An important part of development is, obviously, being able to test changes you develop and ensure that they function properly. In a complicated ecosystem like OpenStack there is a need to also be able to verify the interoperability of your code. You may make a change to Cinder but that change can also impact the way that Nova interacts with Cinder’s APIs.
Developers need an easy way to deploy an OpenStack cloud to do functional and interoperability testing of changes. This is the purpose of DevStack.
What is DevStack
DevStack is a modular set of scripts that can be run to deploy a basic OpenStack cloud for use as a demo or test environment. The scripts can be run on a single node that is baremetal or a virtual machine. It can also be configured to deploy to multiple nodes. DevStack deployment takes care of tedious tasks like configuring the database and message queueing system, making it possible for developers to quickly and easily deploy an OpenStack cloud.
By default, the core services for OpenStack are installed but users can configure additional services to be deployed. All services are installed from source. DevStack will pull the services from git master unless configured to clone from a stable branch (i.e. stable/pike).
Note
DevStack’s full documentation can be found here.
Getting and Configuring DevStack
To get DevStack you will need to clone it from the devstack
repository under openstack.
git clone https://opendev.org/openstack/devstack
It is recommended before proceeding further to set-up passwords and IP
addresses for the environment in which you are running DevStack. This is
done by configuring the local.conf file in DevStack.
cd ./devstack
cp ./samples/local.conf local.conf
vi ./local.conf
To simplify future interaction with your deployment you will want to set the following variables:
ADMIN_PASSWORD
DATABASE_PASSWORD
RABBIT_PASSWORD
On some distributions you may need to also set the HOST_IP. Whether
this is necessary will depend on what naming convention is used for
network interfaces in your operating system.
Further down the file is the Using milestone-proposed branches section.
These are the variables that can be changed if you wish to clone a branch
other than master for one or more projects.
Once your changes have been saved to local.conf you are ready to deploy an OpenStack cloud with DevStack.
Deploying DevStack
Once you have your local.conf file configured executing DevStack is
quite easy.
Note
The following command needs to be run as a user with sudo access and NOPASSWD configured.
./stack.sh
Note
The above command and subsequent command examples assume you are still in the root directory of your DevStack clone.
At this point DevStack takes over preparing your node to function as an OpenStack cloud. The following is done:
Required packages (like mysql and rabbitmq) are installed
mysql and rabbitmq are configured
The OpenStack projects are cloned into /opt/stack/
Any temporary backing files needed to simulate a system are created in /opt/stack/data
Each project’s database is created and populated
The OpenStack Services are registered and started
A log of the stack.sh run is kept in /opt/stack/logs/stack.sh.log.
Verifying Your DevStack Deployment
If OpenStack was successfully deployed by DevStack you should
be able to point a web browser at the IP specified by
HOST_IP in local.conf and access Horizon.
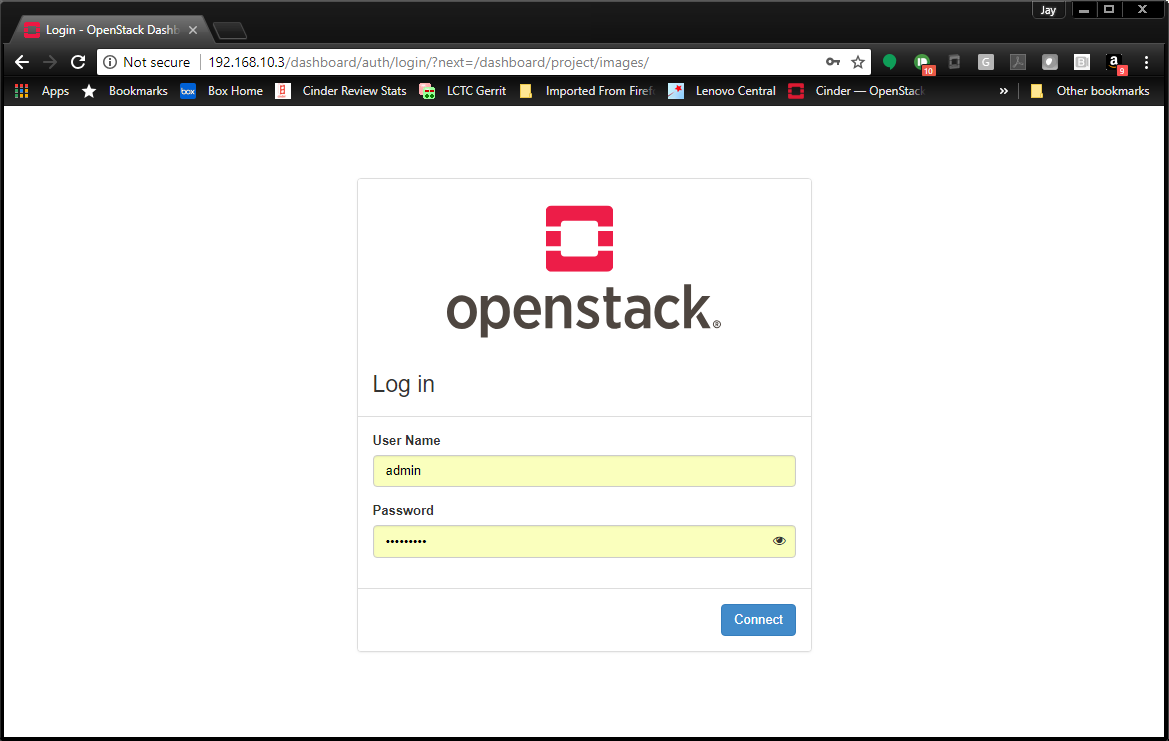
Note
The admin password will be set to the value you put in your
local.conf file for ADMIN_PASSWORD
Project services are all registered with systemd. Each service is prefixed
with devstack@. Therefore you may verify through systemd that the Cinder
Volume process is working with a command like:
systemctl status devstack@c-vol.service
Since systemd accepts wildcards, the status of all services associated with DevStack can be displayed with:
systemctl status devstack@*
Logs for the running services are also able to be viewed through systemd. To display the logs for the Cinder Volume service the following command could be used:
journalctl -u devstack@c-vol.service
A more complete reference of using systemd to interact with DevStack can be found on the Using Systemd in DevStack page.
Testing Changes with DevStack
Using DevStack to develop and test changes is easy. Development
can be done in the project clones under
/opt/stack/<project name>. Since the projects are clones of
the project’s git repository a branch can be made and development can
take place.
DevStack uses the code in those directories to run the OpenStack services so any change may be tested by making a code change in the project’s directory and then by restarting the project’s service through systemd.
Here is an example of what that process would look like. In this example a change is made to Cinder’s LVM driver:
cd /opt/stack/cinder/cinder/volume/drivers
vi lvm.py
*Brilliant Code Improvement Implemented*
sudo systemctl restart devstack@c-vol.service
Once testing and development of your code change is complete
you will want to push your code change to Gerrit for review. Since
the projects in /opt/stack are already synced to their respective
git repository you can configure git review,
commit your change and upload the changes to Gerrit.
Stopping DevStack
To shutdown a DevStack instance running on a node the following command should be used:
./unstack.sh
This command cleans up the OpenStack installation that was performed on the node. This includes:
Stopping the project services, mysql and rabbitmq
Cleaning up iSCSI volumes
Clearing temporary LVM mounts
Running unstack.sh is the first thing to try in the case that a DevStack
run fails. If subsequent runs fail a more thorough removal of DevStack
components may be done with the following command:
./clean.sh
A clean.sh run does the steps for unstack.sh plus additional
cleaning:
Removing configuration files for projects from /etc
Removing log files
Hypervisor clean-up
Removal of .pyc files
Database clean-up
etc.
